
I like to use Heat and Bond Lite fusible web when I do appliqué. It is nice and lightweight and it bonds well with the fabric and gives a good solid hold while I sew around the edges.

Step 1. Choose the shape that you would like to appliqué and trace it on to the paper side of the fusible web. Be aware that this will be the back side of your appliqué, so if your design needs to be turned a certain way (for instance, letters or numbers), you will need to be tracing it mirror imaged from the intended final direction.

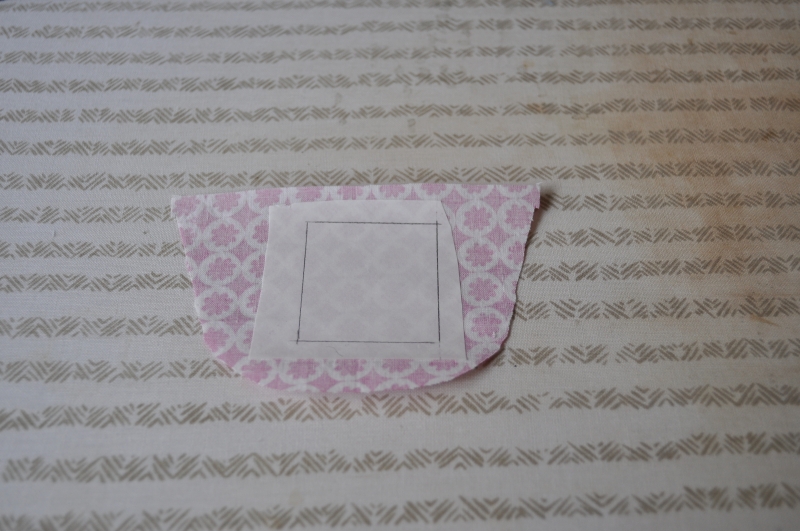
Step 2. Trim the fusible web close to, but not on the lines.

Step 3. Iron this piece to the wrong side of your fabric following the manufacturer's instructions. It is important when ironing these pieces to allow them to cool before you move them otherwise they may not adhere as well as they should.
Step 4. When cooled, cut out your shapes.

Step 5. Peel the paper off of the back.

Step 6. Place your pieces in the desired locations and iron them into place. Once again, allow them to cool.

Step 7. Place fabric stabilizer on the back side. I like to use an iron on stabilizer, but really any stabilizer will work. It only needs to be big enough to cover the area to be appliquéd.

Step 8. You are not necessarily limited to only using the zigzag stitch for machine appliqué. Most machines have a variety of stitches. Play with them and use your own creativity to come up with something that is unique to your own style.
For this example I will use a zigzag stitch. Set your machine for a zigzag stitch. You can play around with the stitch width to find a width that you like, however keep in mind that you want to cover the edge well enough that it will not fray or pull out when washed. The stitch length should be set very small. I usually set mine to almost the smallest setting. I recommend making a few practice samples before attempting your finished piece so that you can get the hang of how to move the fabric and how wide and long to set your stitches for your preferred look.
This is how my machine was set for this example.

Step 9. Stitch around your appliqué pieces allowing the needle to go off the edge of your appliqué piece on the right hand side.


Step 10. I always apply a small amount of June Tailor Fray Block around the edges of my appliquéd pieces once the stitching is complete.

No comments:
Post a Comment